SwiftWall panel systems are lightweight and designed for easy installation with few tools and basic skills. Unlike drywall, which can take days to install, you can put together SwiftWall structures in a matter of hours. The installation process is cleaner, simpler and nearly five times faster.
SwiftWall products are attractive, durable and fully reusable, making them the ideal solution for creating temporary construction barriers, offices, rooms and other custom structures. Over time, SwiftWall systems are also more sustainable and affordable than other temporary walls.
Follow the tips and instructions in this overview of a temporary wall installation to put together your SwiftWall product.
Are Temporary Walls Easy to Install?
Temporary walls are quick and easy to install when you choose SwiftWall. Almost anyone has the strength and basic skills required to install SwiftWall.
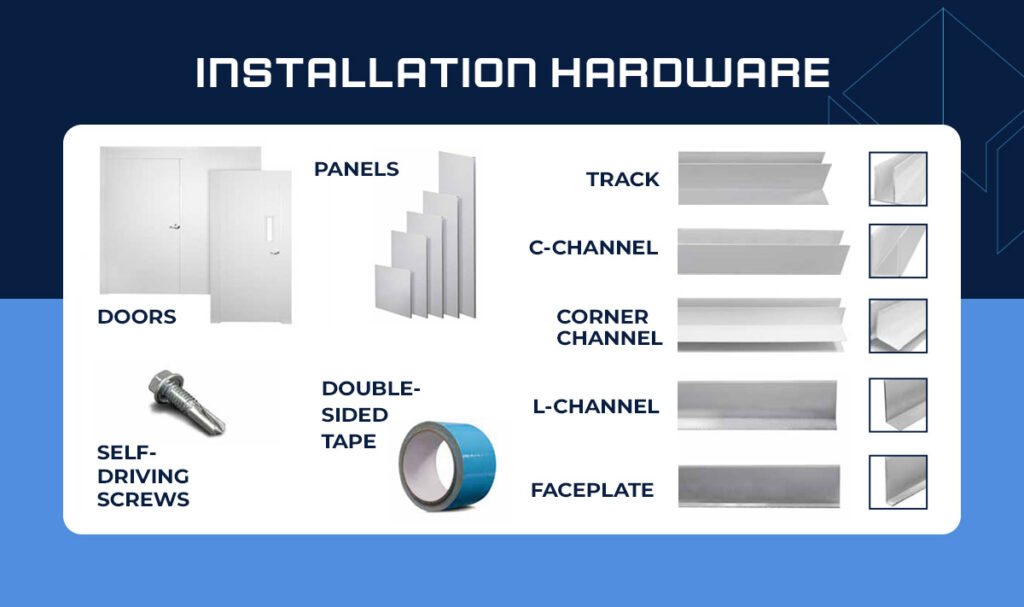
Each lightweight panel slides seamlessly into our track and channel system. You can complete most installations with a tape measure and drill. For a custom fit, you’ll simply need a chop saw or table saw to trim the panels to your desired size.
SwiftWall can be installed within a few hours or less with zero mudding, sanding or lengthy dry times.
Step-By-Step SwiftWall Installation Guide
SwiftWall modular panel systems are designed to install quickly with little effort. Be sure to wear the proper safety gear while following these steps on how to build a temporary wall:

Step 1: Cut the Panels to Size (Optional)
Measure, mark and trim all Tracks and Panels to the appropriate dimensions for your custom layout. We recommend using a chalk line or laser for accuracy. Follow these pro tips for a seamless install:
- The length of the Track on any given side should be cut 4 inches shorter to account for the width of a C-Channel and Corner Channel.
- If you’re using a miter saw to create 45-degree corners, cut your Track to the exact length.
- Remember to cut a space in the Track for any doors. Leave a 36-inch gap for a single door or a 96-inch gap for double doors.
Step 2: Prepare the Work Area
Remove any obstacles or debris and clean the floor in the area where you plan to install your SwiftWall Panel system.
Step 3: Fasten C-Channel to the Wall
Secure the first C-Channel to an existing wall or structure using the appropriate fastener. The base of the C-Channel should sit against the floor. Use a level to ensure it goes on straight. You may need to pre-drill holes before screwing in the C-Channel at the top and bottom. We recommend using metal studs to brace your SwiftWall system.
Step 4: Lay the Floor Track
Once the first C-Channel is attached to the wall, begin laying out the floor Track. Use 12-18 inch strips of double-sided tape to secure the Track to the floor. Apply the tape along the wide edge of the Track on each end and in the middle for maximum stability.
Step 5: Slide in the Panels
Next, you may begin installing the Panels and Corner Channels. If your Panels will sit flush with the ceiling, install C- or L-Channels to the top first, as described in step six. Otherwise, continue with step five.
Place the first Panel into the Track and slide it up against the C-Channel that you attached in step one. Attach the Panel to the C-Channel at the top and bottom on the interior side of the structure.
When you reach a corner, insert a Corner Channel by pressing it into place and securing the adjoining Panels with fasteners at the top and bottom on the interior side of the wall. You can also install a middle anchor for extra stability if needed.
Step 6: Brace the Top
Either before you install the Panels or as you complete sections of your SwiftWall structure, begin measuring and cutting C-Channels to secure the top of each wall. Press-fitting C-Channels to the top of the structure will help secure the seams and add stability. We recommend using L-Channels instead of C-Channels for a flush-to-ceiling installation.
Continue placing Panels, Corner Channels, Fasteners and top C-Channels until you reach the last 4-8 inches of the Track.
Step 7: Install Doors (Optional)
If your structure includes doors, follow this step while constructing your SwiftWall structure.
To install a single door, leave 6 inches of Track after the last Panel for the door Panel to rest inside. Also, leave a 36-inch opening in the Track so the door can open and close.
To install a double door, leave 2 inches of Track after the last Panel and a 92-inch opening. We also recommend leaving an extra ½-inch opening in the Track (beyond the width of the door) to make adjustments easier after placing the door.
After laying the Track on both sides, install the door as you would another Panel. For SwiftWall systems taller than 8 feet, you will have to install an additional header Panel above the door with the joiners. Repeat this step for all of the doors in your structure.
Step 8: Make the Final Touches
As you reach the end of your SwiftWall installation, where the Track meets the wall or existing structure, you must secure another C- or L-Channel before installing the final Panels.
If you’re using a C-Channel, fasten it the same way as described in step three. If you’re using an L-Channel, position the protruding side of the L-Channel to the inside of your SwiftWall structure and fasten it to the wall the same way as described for the C-Channel.
After attaching the C- or L-Channel, you can place your remaining Panels. Slide in the final Panel and fasten it to the C- or L-Channel on the inside of the structure the same way you secured the first Panel in step five. Once the final Panel is in place, install the final C- or L-Channel on top for stability. If you used L-Channels, apply Faceplates using double-sided tape.

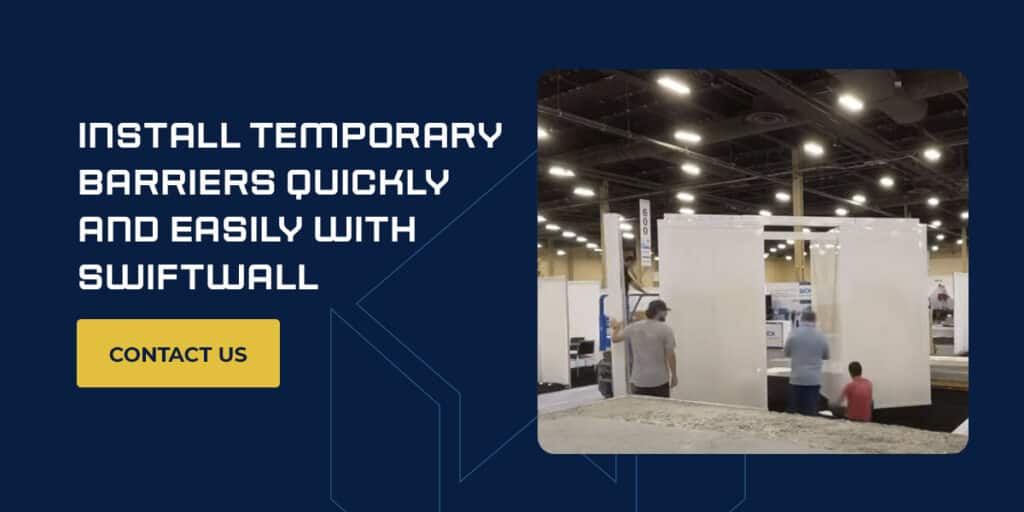
Install Temporary Barriers Quickly and Easily With SwiftWall
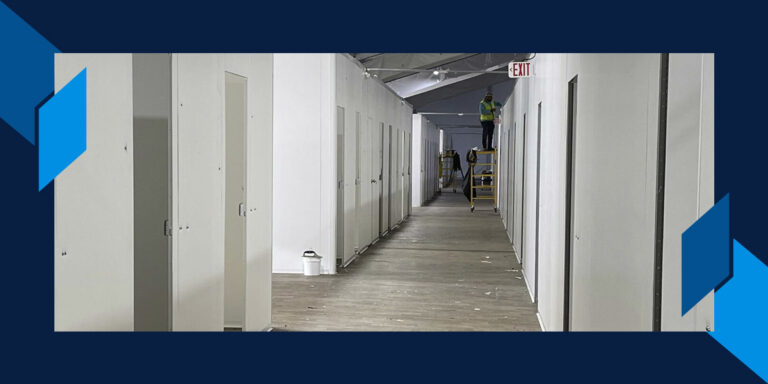
SwiftWall products provide temporary barriers that are simple to install and completely reusable. The panels are designed to slide seamlessly onto the tracks making installation a breeze. Our high-quality tracks and panels are lightweight, so one person can easily lift and maneuver them. They create a clean and seamless-looking barrier to improve the safety and functionality of your space.
By following our SwiftWall installation instructions, you can build a custom structure in eight simple steps. Check out our instruction manual and digital assets for more information. You’re also welcome to reach out with any questions on how to install a SwiftWall product.


